How To Use Embedded JavaScript (EJS) As A Template Engine In NodeJs - Full Explanation
Learn how you can use EJS in your NodeJs App to create Dynamic HTML

My name is Simon Ugorji and I aspire to become a computer scientist.
I officially started my web development journey in the year 2020 as a backend web Developer and I have enjoyed the experience so far.
I spend my day coding, learning new topics, and figuring out the next article to share with the world.
Before we begin, let us understand what a Template Engine is.
A template engine is a mechanism that enables you to use static template files in your application. It replaces the variables inside a web template file with actual values(at runtime), then transforms the template into an HTML file that is sent to the client with the dynamic data.
So we can say that it helps us to create Dynamic HTML content!
In this article, I will show you how to use EJS as a templating engine for your node app. I will also use the CDN links of MDB for bootstrap as our CSS framework.
INSTALLING EXPRESS & EJS
In order to begin, create a folder (name it whatever you want) then create an index.js file.
Now you need to install express through the terminal.
$ npm install express
Once express has been installed, install ejs which is our templating engine
$ npm install ejs
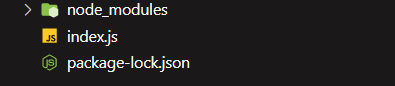
Now your folder structure should look like the image below
SETTING UP YOUR APP
We need to import express & ejs and then configure our app to use express functions.
In your index.js file, type in the code below.
//import express
const express = require('express')
//import ejs
const ejs = require('ejs')
//load express
const app = express()
//set port number
const port = 5000
Now we need to create a pages folder that will store our HTML pages. This folder will have a sub-folder called layouts which will store sub-sections of our HTML page eg the navbar, and the footer.
Once you've created the pages folder, create a file and name it home.ejs. This file will be the template for our homepage.
Now we need to tell express to use ejs as our templating engine (view engine) and since our views directory is going to be different, we will tell express to use the ./pages folder as our views directory.
The
viewsdirectory is the directory where all your template files are stored
//tell express to use ejs as our template/view engine
app.set('view engine', 'ejs')
//tell express to use pages as our views directory
app.set('views', './pages')
Let us create a simple HTML page that will welcome us to the homepage of our app.
Copy the HTML below and paste it into pages/home.ejs file which is the template for our homepage
<!Doctype html>
<html>
    <head>
    </head>
    <body>
        <header>
        </header>
        <main>
            <h1 style="text-align:center">Welcome</h1>
        </main>
    </body>
    <footer>
    </footer>
</html>
CREATING A ROUTE
In the index.js file, we will create a route to the homepage and render the HTML template responsible for the homepage.
I will use the render method to render the template responsible for the homepage.
This method takes in 2 arguments, which are;
- The file name of the HTML page we are trying to render
- The data we wish to send to that page
Make sure that the file that you're trying to render exists in the views directory which is the /pages folder
Since I want to render the file home.ejs as the homepage when the user navigates to the root of our website, I will do something like this
//route to homepage
app.get( '/', (req, res) => {
    //render the template for the homepage
    res.render('home');
})
Notice that we didn't provide the extension of the home.ejs file inside the render method.
Now before we fire up our app, we need to make it listen on the port number provided.
//listen on the port number
app.listen( port, () => {
    console.log("App is live")
})
So here's the full code of index.js
//import express
const express = require('express')
//import ejs
const ejs = require('ejs')
//load express
const app = express()
//set port number
const port = 5000
//tell express to use ejs as our template/view engine
app.set('view engine', 'ejs')
//tell express to use pages as our views directory
app.set('views', './pages')
//route to homepage
app.get( '/', (req, res) => {
    //render the template for the homepage
    res.render('home');
})
//listen on the port number
app.listen(port, () =>{
    console.log("App is live")
})
FIRING UP YOUR APP
Using the terminal, start up your app
$ node index.js
Then visit this URL on your browser localhost:5000
If you followed the steps correctly, you should see the welcome page

If you've gotten to this point, here's a round of applause because you're about to understand how ejs works

CREATING PAGE LAYOUTS
Now we need to create 3 layouts for all pages. These layouts will exist in different files within the ./pages/layouts/ directory
So, within this directory ./pages/layouts/, create a head.ejs file and add the code below.
<!-- Font Awesome -->
<link
  href="https://cdnjs.cloudflare.com/ajax/libs/font-awesome/6.0.0/css/all.min.css"
  rel="stylesheet"
/>
<!-- Google Fonts -->
<link
  href="https://fonts.googleapis.com/css?family=Roboto:300,400,500,700&display=swap"
  rel="stylesheet"
/>
<!-- MDB -->
<link
  href="https://cdnjs.cloudflare.com/ajax/libs/mdb-ui-kit/5.0.0/mdb.min.css"
  rel="stylesheet"
/>
Merely looking at the code above, you should know that it is the content that goes inside the head tag of a webpage
Still within the ./pages/layouts/ directory, create a navbar.ejs file and add the code below.
<!-- Navbar -->
<nav class="navbar navbar-expand-lg navbar-light bg-light">
    <!-- Container wrapper -->
    <div class="container-fluid">
        <!-- Toggle button -->
        <button class="navbar-toggler" type="button" data-mdb-toggle="collapse"
            data-mdb-target="#navbarSupportedContent" aria-controls="navbarSupportedContent" aria-expanded="false"
            aria-label="Toggle navigation">
            <i class="fas fa-bars"></i>
        </button>

        <!-- Collapsible wrapper -->
        <div class="collapse navbar-collapse" id="navbarSupportedContent">
            <!-- Navbar brand -->
            <a class="navbar-brand mt-2 mt-lg-0" href="#">
                <img src="https://mdbcdn.b-cdn.net/img/logo/mdb-transaprent-noshadows.webp" height="15" alt="MDB Logo"
                    loading="lazy" />
            </a>
            <!-- Left links -->
            <ul class="navbar-nav me-auto mb-2 mb-lg-0">
                <li class="nav-item">
                    <a class="nav-link" href="/">Home</a>
                </li>
                <li class="nav-item">
                    <a class="nav-link" href="/fruits">Fruits</a>
                </li>
            </ul>
            <!-- Left links -->
        </div>
        <!-- Collapsible wrapper -->
    </div>
    <!-- Container wrapper -->
</nav>
<!-- Navbar -->
Lastly, create a footer.ejs file still in the same directory, then add the code below.
<!-- Footer -->
<footer class="bg-light text-center ">
  <!-- Grid container -->
  <div class="container p-4">
    <!-- Section: Text -->
    <section class="mb-4">
      <p>
        Lorem ipsum dolor sit amet consectetur adipisicing elit. Sunt
        distinctio earum repellat quaerat voluptatibus placeat nam,
        commodi optio pariatur est quia magnam eum harum corrupti dicta,
        aliquam sequi voluptate quas.
      </p>
    </section>
    <!-- Section: Text -->
  </div>
  <!-- Grid container -->
  <!-- Copyright -->
  <div class="text-center p-3" style="background-color: rgba(0, 0, 0, 0.2)">
    © 2020 Copyright:
    <a class="text-dark" href="https://mdbootstrap.com/">MDBootstrap.com</a>
  </div>
  <!-- Copyright -->
</footer>
<!-- Footer -->
At the moment, our home page, which is the home.ejs file is unattractive.
Let us include the layouts; head, navbar, and footer using ejs.
To include a layout on a page, place the code below wherever you want the layout to render
<%- include('PATH_TO_LAYOUT') %>
This means that wherever you placed the code, it is going to import the specified layout and render it there.
This also means that whatever changes you make to a layout will affect any page that included it.
So in the home.ejs file, I will do something like this
<!Doctype html>
<html>
    <head>
        <%- include('./layouts/head') %>
    </head>
    <body>
        <header>
            <%- include('./layouts/navbar') %>
        </header>
        <main>
            <h1 class="text-primary mt-5 text-center">Welcome</h1>
        </main>
    </body>
    <footer>
        <%- include('./layouts/footer') %>
    </footer>
</html>
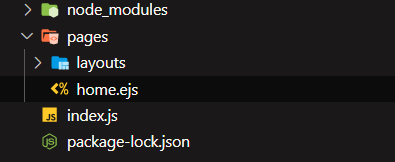
To make sure that we are on the same page, this is my folder structure.

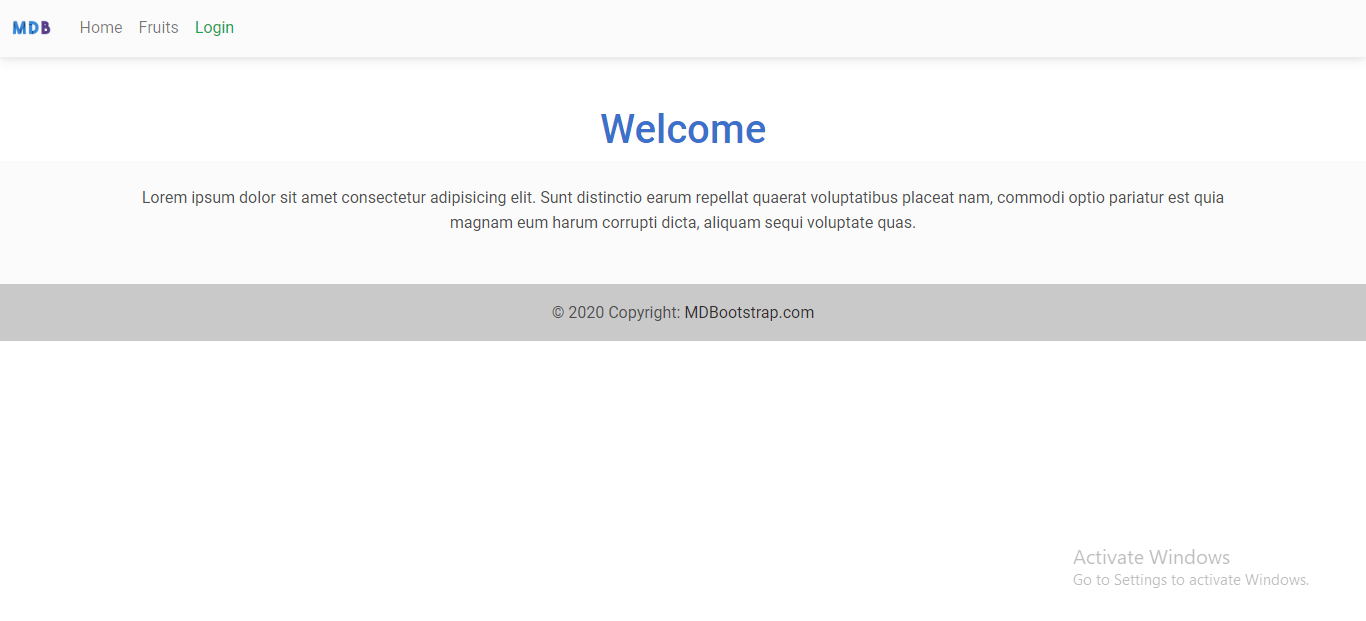
Now let us reload our browser and check the progress so far
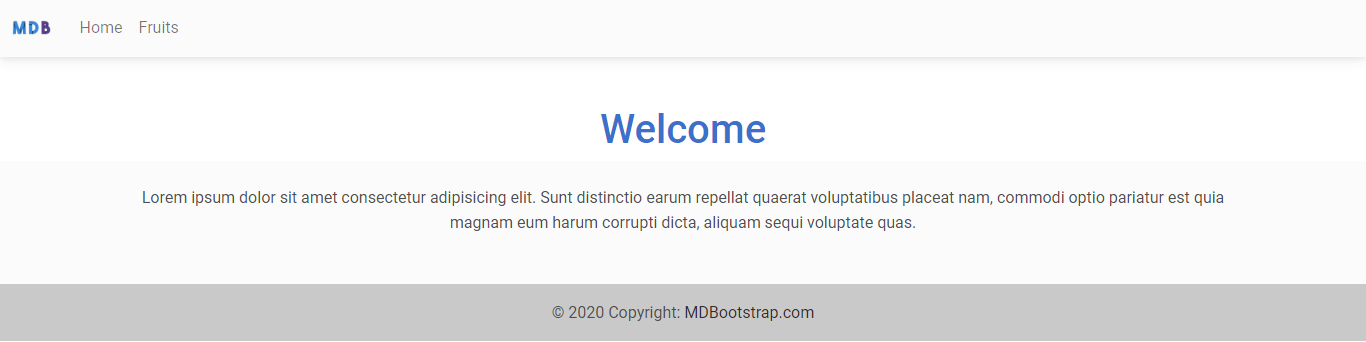
You can testify that with minimal code, we were still able to generate a full home page.
Let's keep going!

WRITING DYNAMIC HTML
Now we are ready to send data from the backend to the frontend.
Let us create a route that renders a fruits page. This page will also receive the fruits to display from the backend.
Recall that the render method takes in 2 arguments, which are;
- The file name of the HTML page we are trying to render
- The data we wish to send to that page
So in my case, I wish to send an array of fruits as the data to the page.
//route to fruits
app.get( '/fruits', (req, res) => {
    //our fruits array
    const fruitsAry = ['apple', 'mango', 'guava', 'banana', 'pineapple']
    //render the template for the fruits page & send data as json
    res.render('fruits', {fruitsAry});
})
Now create a new fruits.ejs template within ./pages/ directory then add the code below
<!Doctype html>
<html>

<head>
    <%- include('./layouts/head') %>
</head>

<body>
    <header>
        <%- include('./layouts/navbar') %>
    </header>
    <main class="mt-5">
        <div class="m-auto p-3" style="max-width:700px;box-shadow:0px 0px 8px #ddd">
            <h1 class="text-primary mt-5 text-center">Welcome To Fruits Page</h1>
            <h5 class="text-center">I have <span class="text-danger">
                    <%= fruitsAry.length %>
                </span> favourite fruits and they are listed below.</h5>
            <ol>
                <% for(let i=0; i < fruitsAry.length; i++){ %>
                    <li>
                        <%= fruitsAry[i] %>
                    </li>
                    <% } %>
            </ol>
        </div>

    </main>
</body>
<footer>
    <%- include('./layouts/footer') %>
</footer>

</html>
TIME FOR AN EXPLANATION
If you look at the snippet above, you will notice that this code <%= fruitsAry.length %> is similar to the one used to include a layout.
Except that this one allows us to directly access & print out the rendered data.
So I have a little syntax below to demonstrate how it works.
- If you want to execute a code or access rendered data without printing it out, do something like this
<% CODE_TO_EXECUTE %>
- However, If you want to execute a code or access rendered data & and print it out, do something like this
<%= CODE_TO_EXECUTE %>
//or
<%- CODE_TO_EXECUTE %>
- Don't forget the syntax to include a layout on a page
<%- include("PATH_TO_LAYOUT") %>
So with this one <% for(let i=0; i < fruitsAry.length; i++){ ... }%>, we were able to embed a JavaScript code (that's why it is called Embedded JavaScript right?) that loops through the fruits array sent from the backend using a for loop, then creates a list item for each fruit in the array.
Restart your server, then visit this URL on your browser localhost:5000/fruits
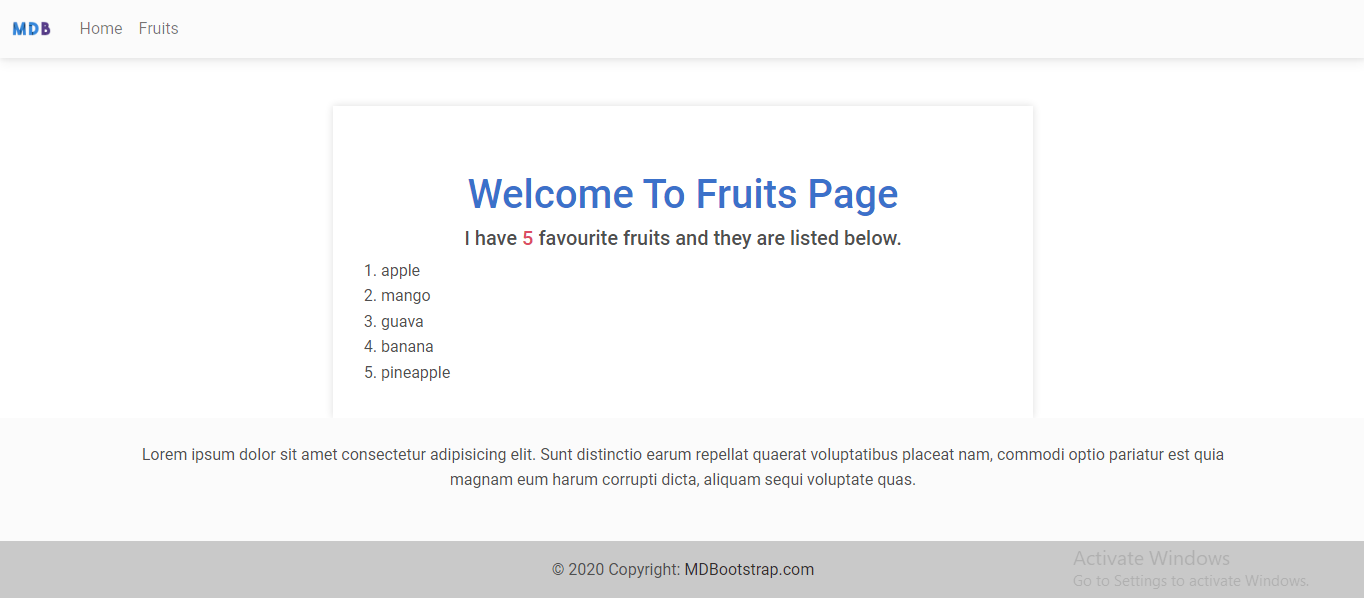
Amazing... right?

LET'S WRITE A CONDITIONAL STATEMENT
Just like I explained above concerning embedding JavaScript directly into your template file, it is also possible to write conditional statements within this file.
Say, for example, I have a variable loggedIn that checks if a user is logged in to our app or not, i.e. if the user is logged in, the value of this variable will be true and if the user is not logged in, the value will be false.
Now I want to use this variable to conditionally display 1 out of 2 links on my navbar which are login and logout. If the user is not logged in, you will see login on the navbar and if the user is logged in, you will see logout instead.
In the ./layouts/navbar file, add the code below right after the nav-item for fruits
<% if(loggedIn === true) { %>
    <li class="nav-item">
        <a class="nav-link text-danger" href="/logout">Logout</a>
    </li>
<% }else{ %>
    <li class="nav-item">
        <a class="nav-link text-success" href="/login">Login</a>
    </li>
<% } %>
Now we need to modify our server file ./index.js and add the variable loggedIn to the global space so that it can be accessed by all pages in our app.
Just before the route to the homepage, add this code
//make variable globally accessible
global.loggedIn = false //default value is false
Now let us create routes for the login and logout pages. If you click on login, it will set the global variable to true and if you click on logout, it will set the global variable to false
Just after the route to the fruits page, add this code
//route to login
app.get('/login', (req, res) => {
    //user is logged in
    loggedIn = true
    //redirect to homepage
    return res.redirect('/')
})
//route to logout
app.get('/logout', (req, res) => {
    //user is logged in
    loggedIn = false
    //redirect to homepage
    return res.redirect('/')
})
Now let us reload our server and test it out.
This is what happens on my navbar when I click on the login link
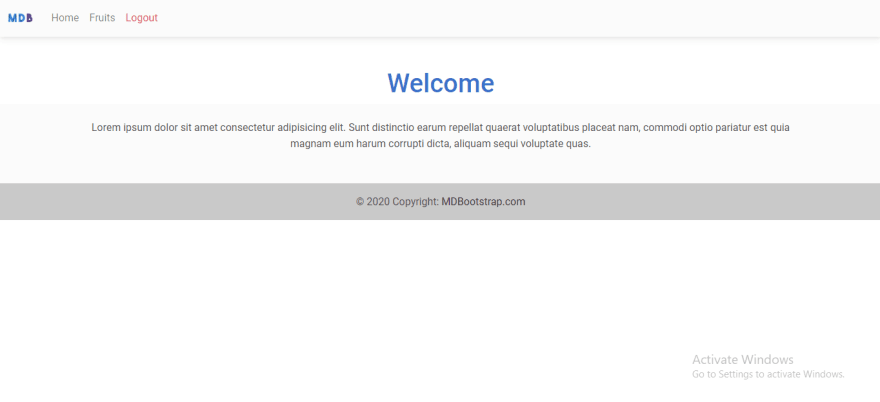
You will see the logout link on the navbar instead of login
Now let us click on the logout link
Bravo! There's the login link.
CONCLUSION
We have covered so much detail in this article. Here's a recap of what we did so far
- Before you can use
ejstemplating engine in your app, you must tell express to use it as your view engine. - If you have a different
viewsdirectory, tell express to use it, then make sure it contains your templates - Use layouts to store sections of a page that will be needed by other pages. Eg the navbar, the footer, etc
- The
rendermethod takes in 2 arguments.- The first one is the template you're trying to render
- The second one is the data you want to send to that template. This data must be passed as an
object
- You start embedding javascript in your template using the syntax
<% ... %> - To include a layout in a page, you must specify the path to the layout file using the syntax
<%- include('PATH_TO_LAYOUT_FILE') %> - To access & print data sent from the backend, use the syntax
<%= THE_OBJECT_KEY %>or<%- THE_OBJECT_KEY %>wherethe_object_keyis the key sent fromres.render( 'SOME_TEMPLATE', { KEY : VALUE } )
That's all for now. If you want the source code of this article, visit my github repo below.
If you have any questions, suggestions, or contributions, feel free to drop a comment below and I will attend to it.
Did you enjoy the article? Consider giving me a tip 😁
Thank you for reading.
Image credit: Photo By Joan Gamell on Unsplash


