


File Validation Using The FileList API in JavaScript
Learn about the FileList API in JavaScript


The FileList API enables you to have full control over the user's selected file, and with this, you can perform file validation.
I will show you some of the things you could validate on a file using the FileList API.
Supposing I have a file input below
<form novalidate>
    <input type="file" id="inp_file" accept=".png" multiple><br><br>
    <button type="submit">Upload</button>
<form>
When I reload my HTML page and select some images, this is how I will retrieve the selected files as an object.
//retrieve file input element
const fileInp = document.querySelector('#inp_file');
//retrieve file
const fileInpFiles = fileInp.files
//log result
console.log(fileInpFiles);
Here's the preview
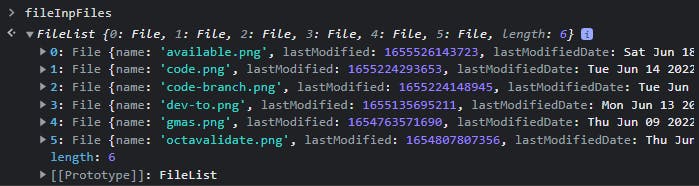
You can see that the FileList is an object that has other properties within.
Within the FileList Object;
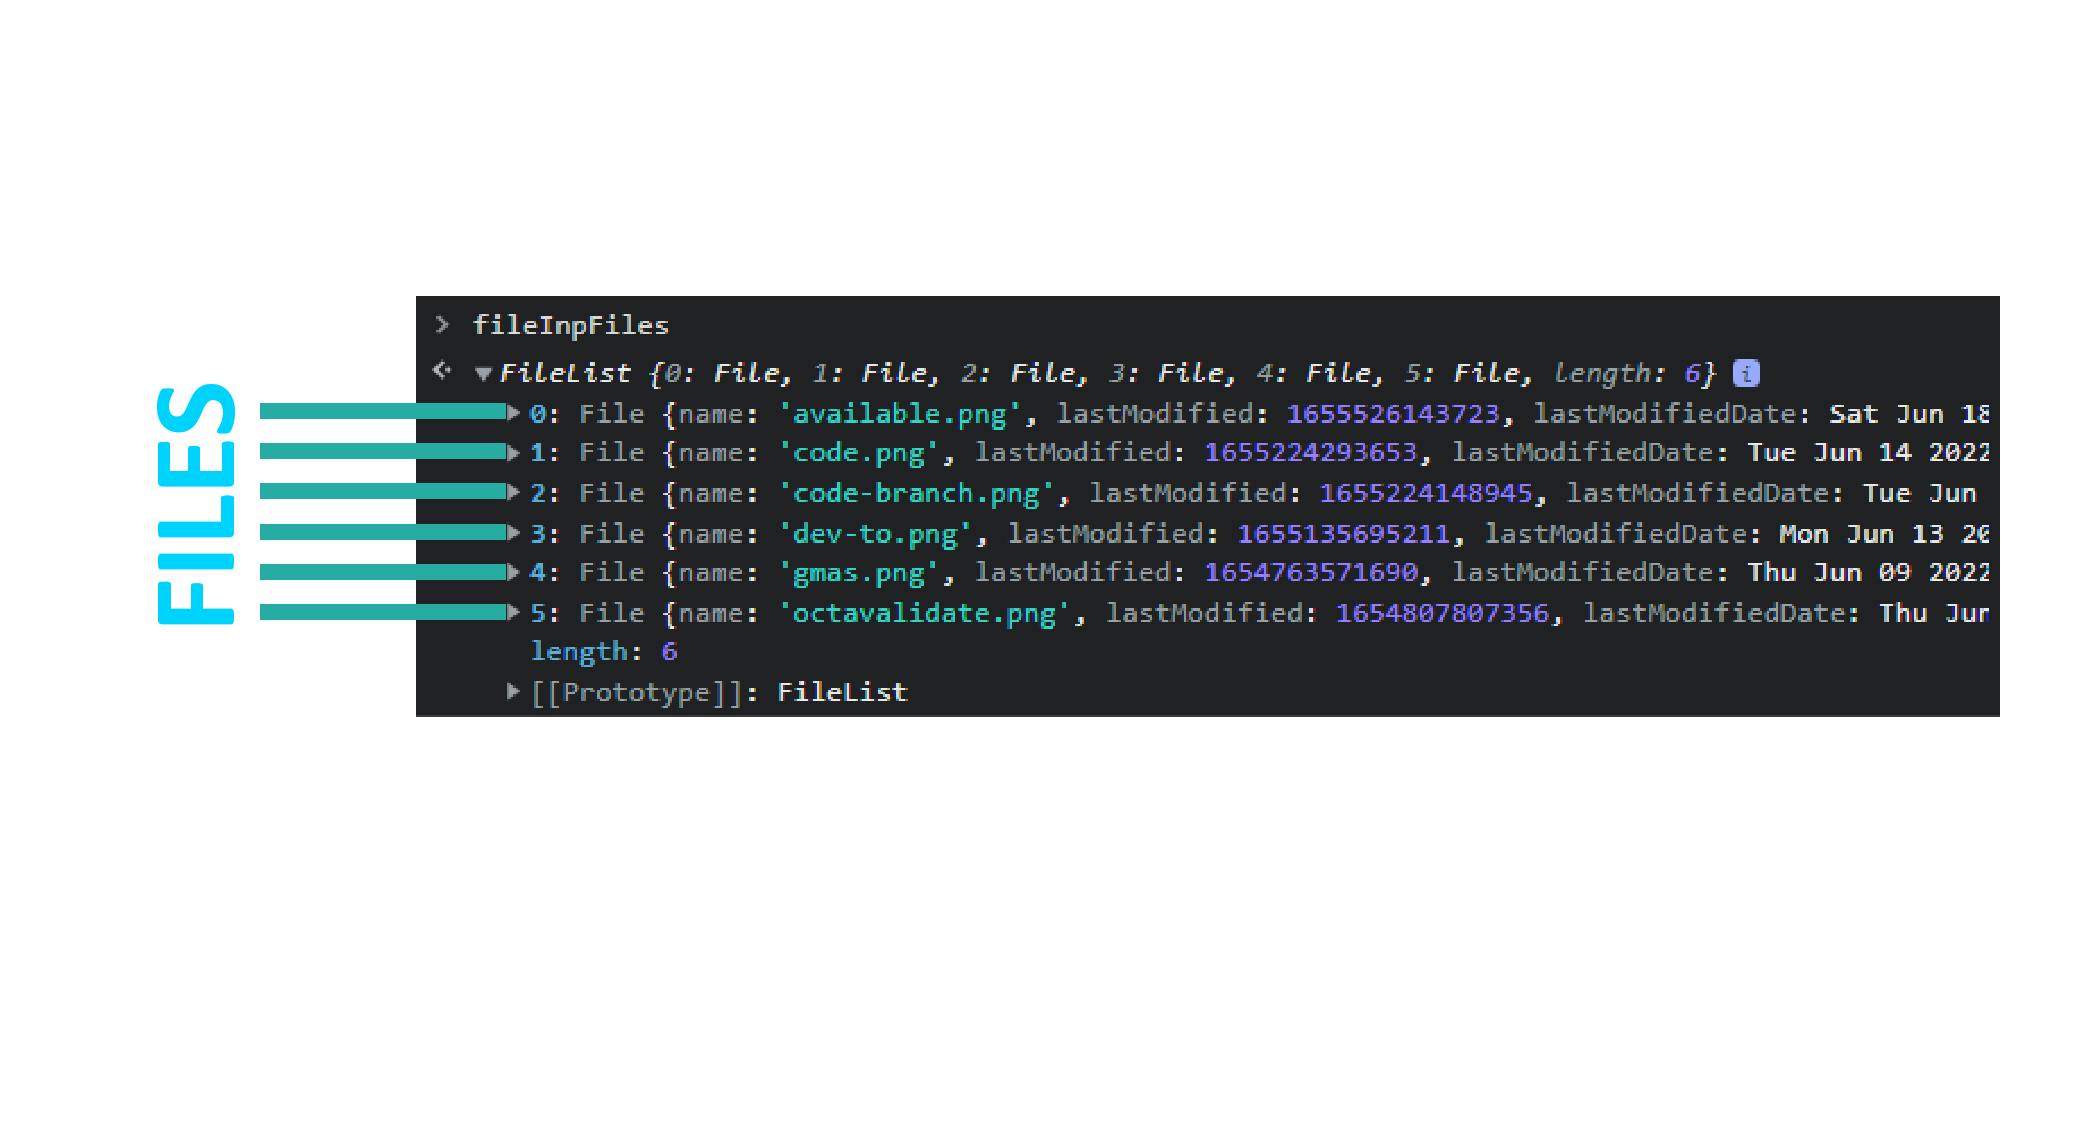
You can retrieve the number of files selected by the user through the
lengthproperty.You can get more information about the selected file using the numeric index
0...(length - 1)
From the image above, you can see that the length is 6 and this means that the user selected 6 files. So the files will take an index of 0 to (6 - 1) ie 0 to 5.
This is useful if you want to loop through each of the files selected by a user.
FileList API Object Properties
Now let us talk more about the properties contained within a selected File.
- lastModified
timestamp
This is the file's last modification date provided as a timestamp.
To have control over the date, pass in the timestamp to the Date constructor.
- lastModifiedDate
Date
This is the full date when the file was last modified.
- name
string
This is the file's name.
- size
integer
This is the file's size in bytes.
- type
string
This is the file's MIME type.
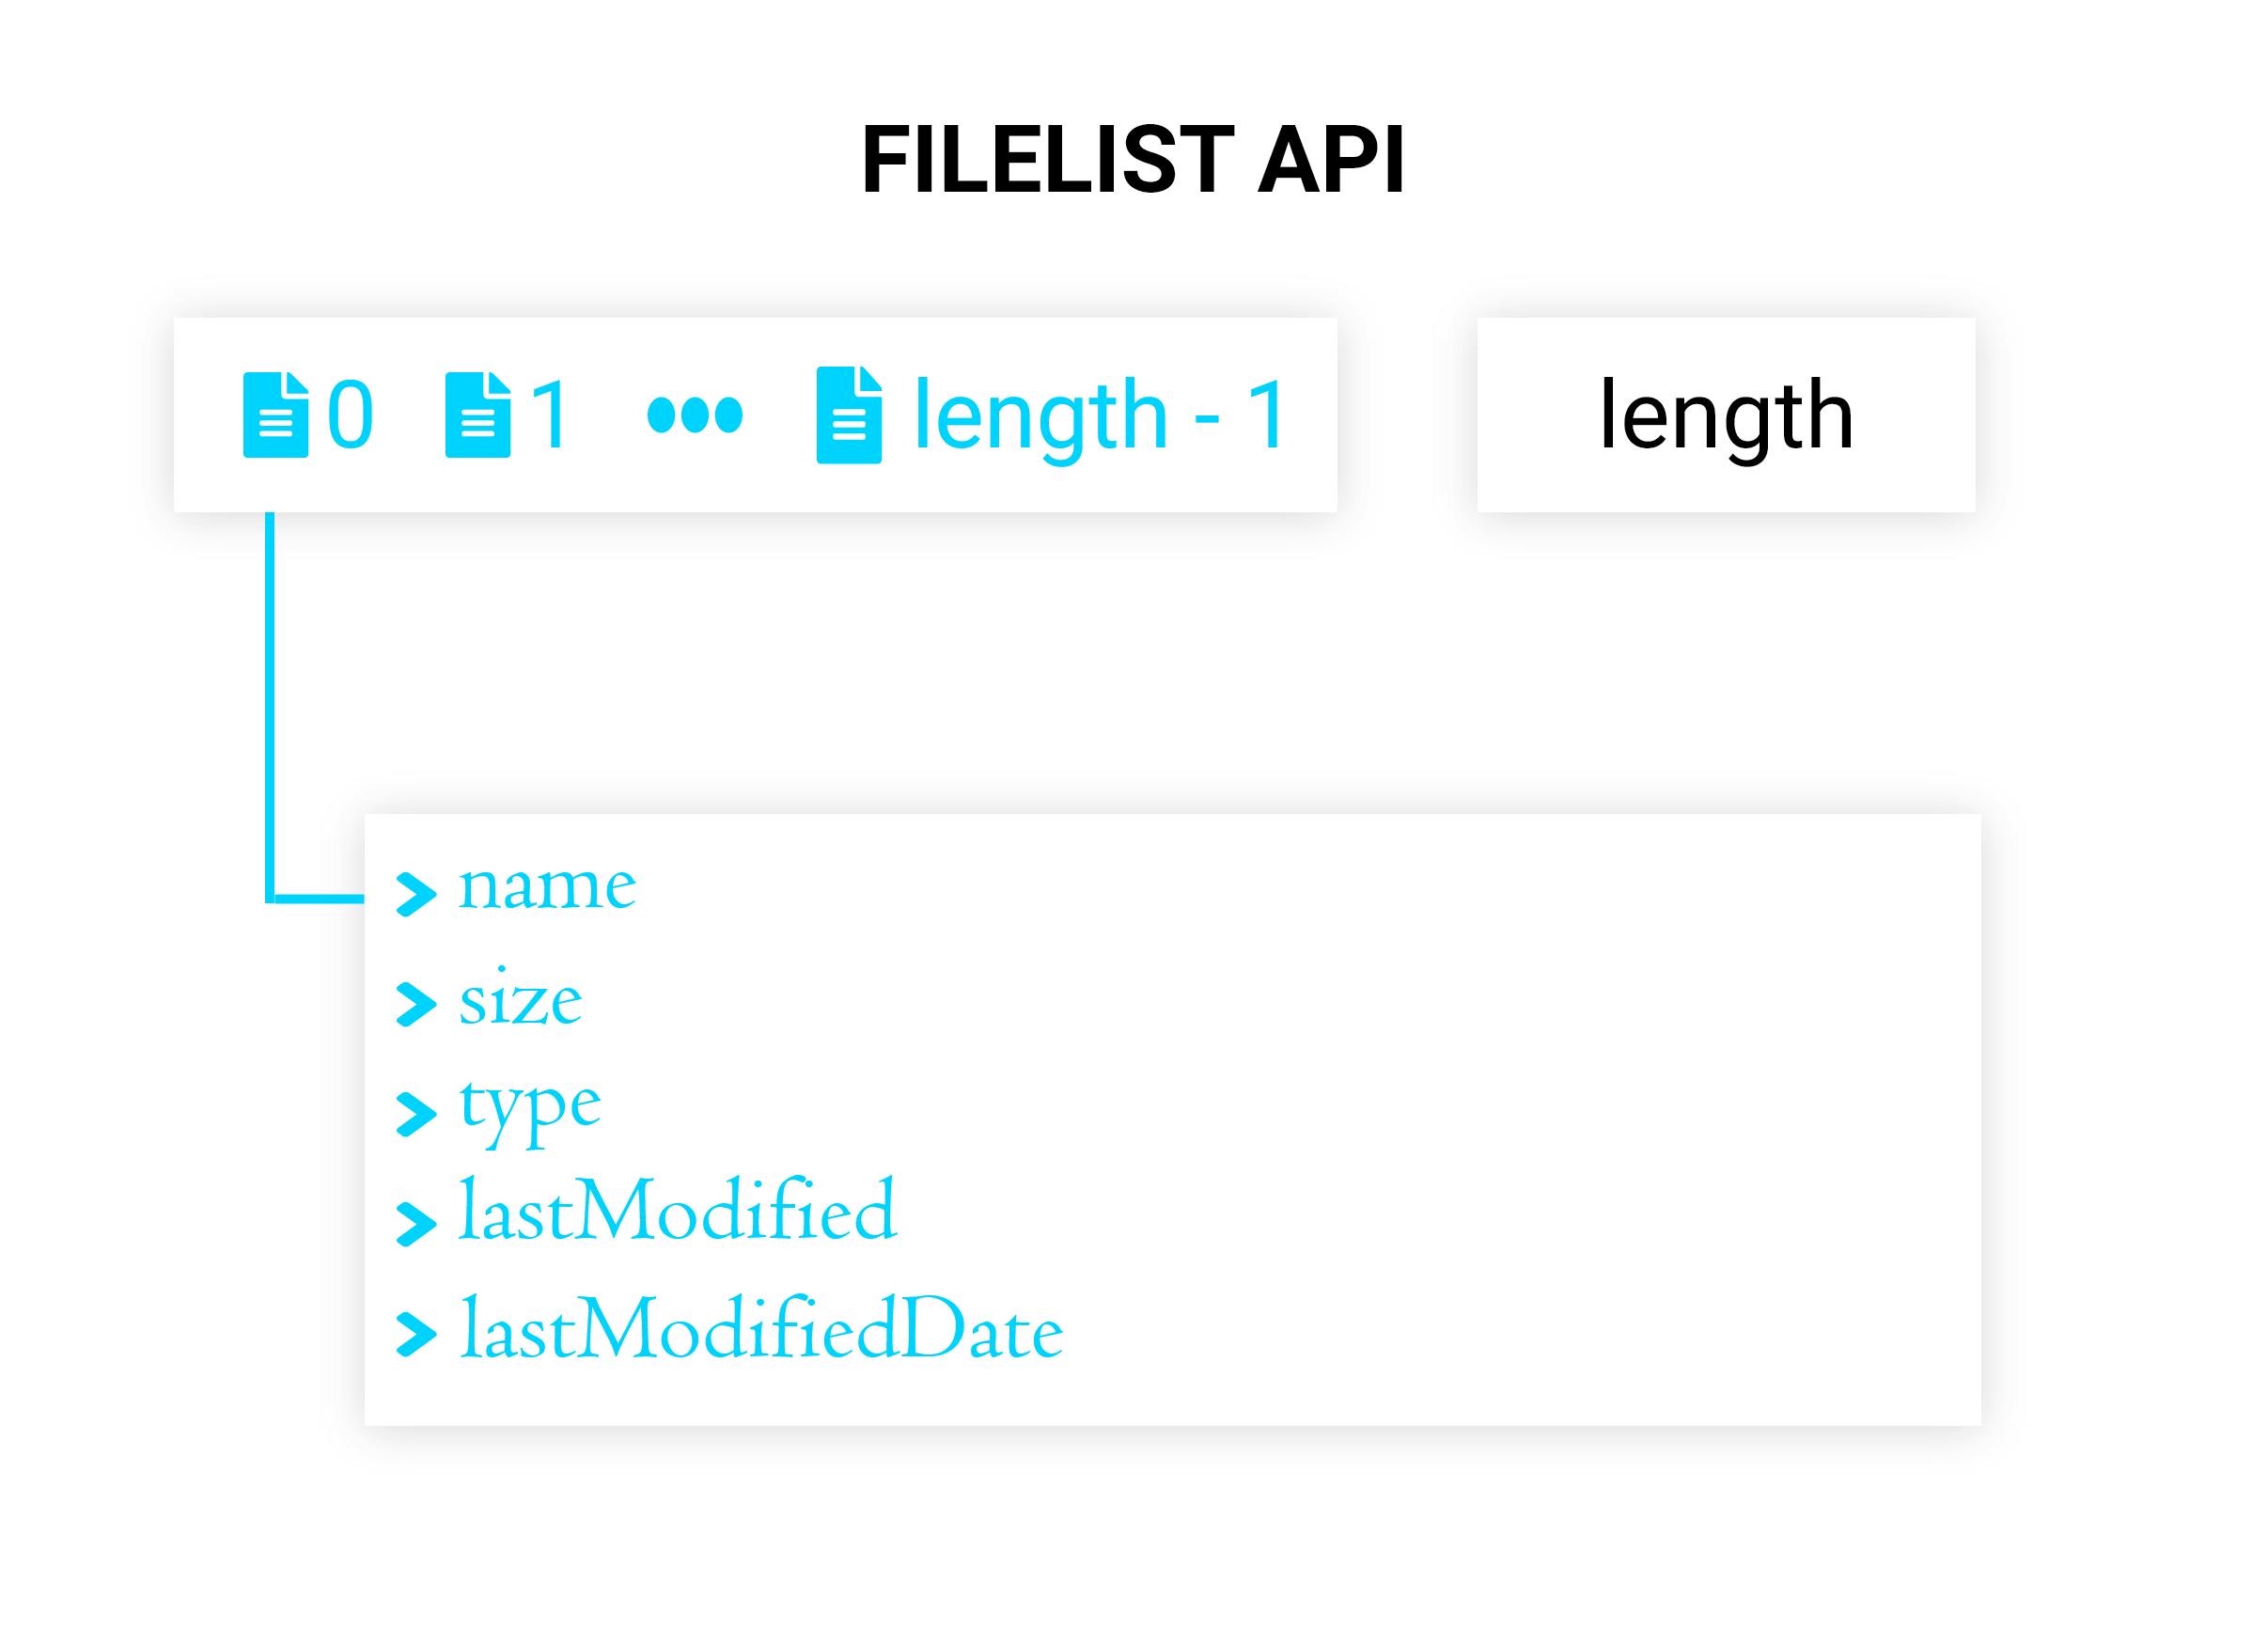
To recap, here's an image showing the properties of a FileList API
LOOPING THROUGH FILES
Now, let us learn how we can loop through each of the files selected by the user and perform validations on them.
The FileList Api provides data as an object, so we need to write a loop that will go through this object and retrieve the data we need.
If you haven't checked my previous article on how to loop through an object in JavaScript, here's a link to the article.
//loop through object
for (let file of fileInpFiles){
    //log current file
    console.log(file);
}
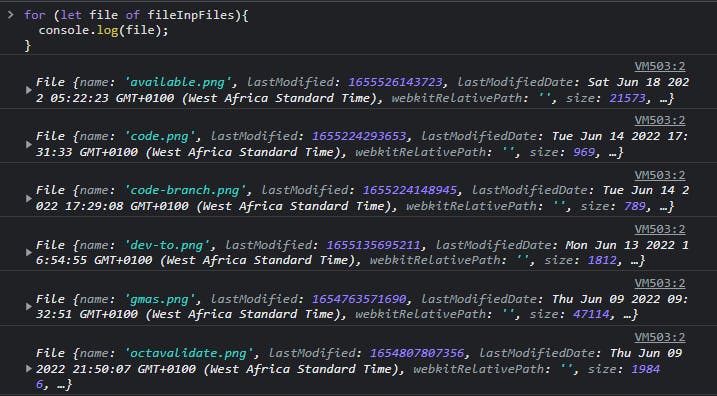
When you execute the above code, you will see that we are able to loop through the object and output each of the files.
Now we are ready to validate the files.
VALIDATION
Size Validation
Recall that the size of a particular file is returned as bytes.
Assuming the user is allowed to select files that are not more than 2MB, this is how I will perform the validation.
- Convert 2MB to bytes
- Loop through files and save their sizes
- Check if the total size is greater than 2MB
//convert 2mb to bytes
const requiredSize = 1024 * 1024 * 2;
//save file size
let filesSize = 0;
//loop through object
for (let file of fileInpFiles){
    //add up file sizes
    filesSize+=file.size;
}
//check if files size is greater than 2MB or 2,000,000 bytes
if(filesSize > requiredSize){
    console.log("Files must not exceed 2MB in size");
}
Type Validation
Now, assuming the user is allowed to select only image files, this is how I will perform my validations.
- Create an array that will store the image file types
- Loop through the files and check if any file doesn't match the required type
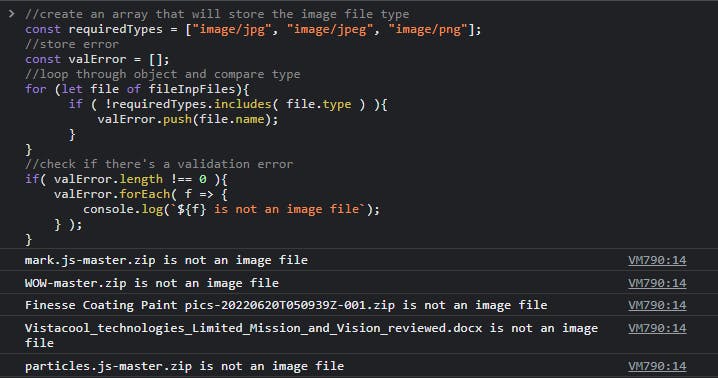
//create an array that will store the image file type
const requiredTypes = ["image/jpg", "image/jpeg", "image/png"];
//store error
const valError = [];
//loop through object and compare type
for (let file of fileInpFiles){
      if ( !requiredTypes.includes( file.type ) ){
          valError.push(file.name);
      }
}
//check if there's a validation error
if( valError.length !== 0 ){
    valError.forEach( f => {
        console.log(`${f} is not an image file`);
    } );
}
Here's what happens when I select some files that are not supported
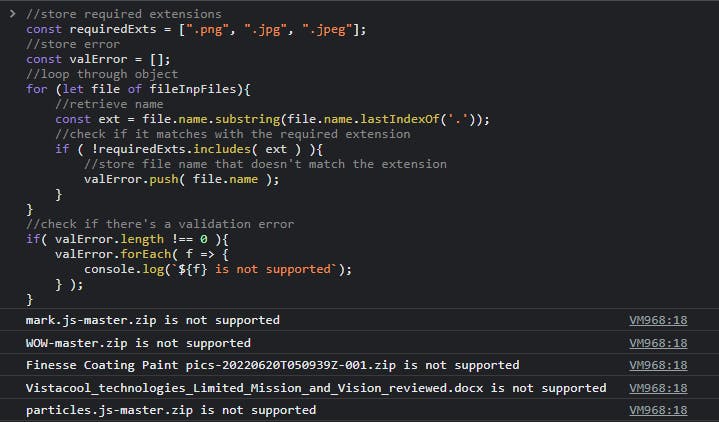
File Extensions Validation
For my last validation, I want the user to provide files that have the extension ".png, .jpg, .jpeg", and any file that doesn't match the extension will be flagged as an unsupported file type.
To perform this validation, I will;
- Store the required file extensions in an array
- Loop through the files and retrieve their names
- Extract the file extension from the name and then compare it with the required file extensions
//store required extensions
const requiredExts = [".png", ".jpg", ".jpeg"];
//store error
const valError = [];
//loop through object
for (let file of fileInpFiles){
    //retrieve extension from name
    const ext = file.name.substring(file.name.lastIndexOf('.'));
    //check if it matches with the required extension
    if ( !requiredExts.includes( ext ) ){
        //store file name that doesn't match the extension
        valError.push( file.name );
    }
}
//check if there's a validation error
if( valError.length !== 0 ){
    valError.forEach( f => {
        console.log(`${f} is not supported`);
    } );
}
Here's what happens when I select files that are not supported
I hope that with the little exercise that we did here, you are able to fully understand what the FileList API in JavaScript is capable of, including how to use it.
I would love to have your contributions to this article.
Extra
I built and launched a JavaScript Library on NPM that is capable of validating your front-end forms using regular expressions, validation rules, and form input attributes.
With this Library, you can validate all types of form inputs, including files validation and length validation
Check out this library on NPM
Check out this library on GitHub
Check out the Documentation
Image Credit: Joan Gamell on Unsplash
Thank You.